
- 17rlochhead
- Jun 8
- 3 min read
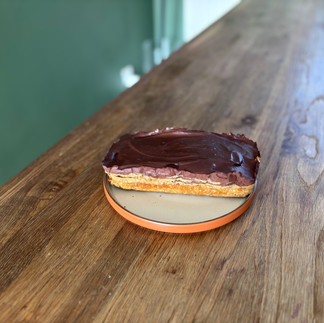
A few months ago, I tried a layered bar at one of my favourite cafes, The Green Rocket in Bath, and instantly fell in love. The flavours, textures, and indulgent layers were unforgettable. I knew I had to recreate it at home. After a bit of experimentation, tweaking a few of my favourite recipes, I finally nailed it.


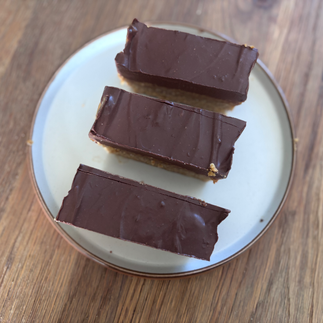
These bars are made up of three dreamy layers: a soft, nutty (or seed-based) cookie base, a naturally sweet caramel centre, and a rich chocolate fudge topping. They’re simple to make, full of wholesome ingredients, and perfect for keeping in the freezer for a sweet treat whenever you need one.
Here’s how I recreated each layer:
Cookie Base
I wanted a soft, fudgey cookie base with a crisp exterior and a subtle peanut butter flavour. Using a simple peanut butter cookie recipe as my starting point, I made a few changes:
Date syrup for a natural caramel-like sweetness
Oat flour for a softer texture
Reduced baking time to keep the base fudgy

Caramel Centre
The centre is thick and creamy with crunchy peanut pieces throughout. To recreate it, I simply soaked dates to soften them, then blended them with crunchy peanut butter to make a naturally sweet, indulgent caramel layer.
Chocolate Fudge Top
The final layer is smooth, rich, and chocolatey. After a few trials, I perfected the quantities to create a silky, thick chocolate fudge topping that finishes the bar beautifully.
Ingredients
Cookie Base:
60g coconut oil, melted
2 tbsp date syrup
2 tbsp smooth peanut butter
100g gluten-free oat flour (blend certified gluten-free oats until fine)
50g ground almonds
Caramel Centre:
130g dates
50g crunchy peanut butter
Chocolate Fudge Top:
50g cocoa powder
100g date syrup
40g smooth peanut butter
70g coconut oil, melted
100g milk
Method
Preheat your oven to 180°C (fan) and line a loaf tin with baking parchment.
Place the dates for the caramel layer in a bowl and cover with boiling water. Let them soak while you prepare the base—this helps them blend into a smooth, sticky caramel later.
In a mixing bowl, combine all the cookie base ingredients and stir until a soft dough forms.
Press the mixture evenly into the lined loaf tin, smoothing it down with the back of a spoon or a spatula.
Bake for 10 minutes, or until lightly golden. Remove from the oven and allow to cool completely.
Drain the soaked dates, then blend them with the crunchy peanut butter until smooth and thick.
Once the base has cooled, spread the caramel layer evenly over the top, smoothing it out with a spatula.
To make the chocolate fudge topping, blend all the topping ingredients until silky and fully combined.
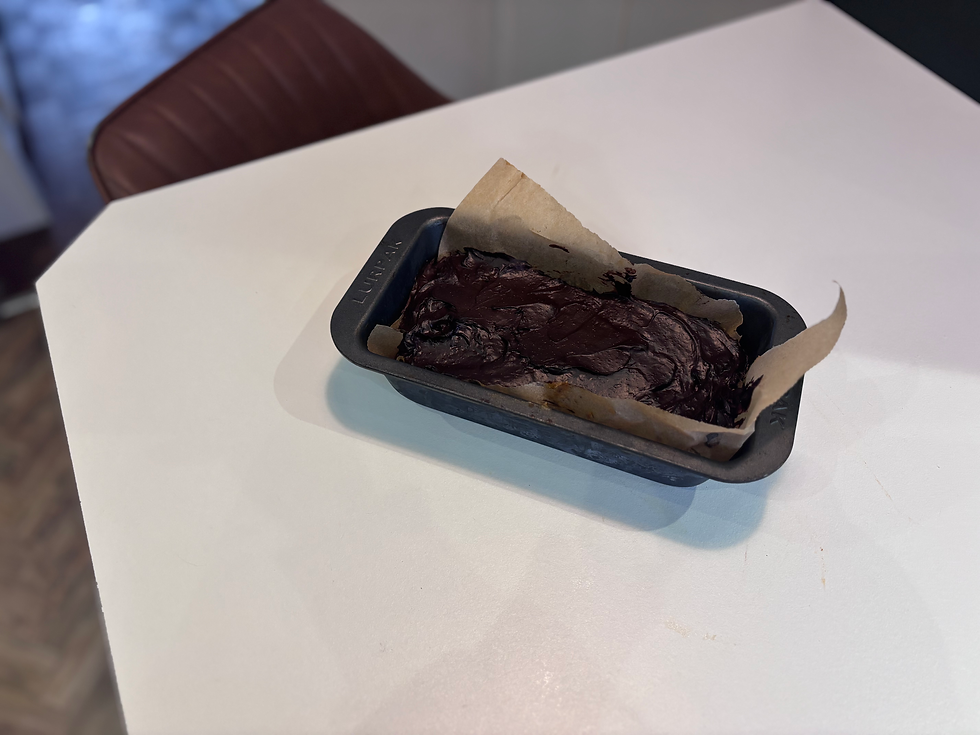
Pour and spread the chocolate layer over the caramel, ensuring an even finish.
Place in the fridge for a few hours, or until fully set.
Slice into bars and enjoy!

Allergies & Dietary Info
These bars cater to several dietary needs:
Gluten-free: Made with gluten-free oat flour.
Dairy-free: Just make sure to use a dairy free milk!
Refined sugar-free: Sweetened naturally with dates and date syrup.
Vegan: Use a dairy free milk and make sure sweetners are vegan!
Nut-free alternative: Swap peanuts/almonds with sunflower or pumpkin seeds, and use seed butter instead of peanut butter.


If you try these, I hope you love them as much as I do! To stay up to date with my latest recipes, tips, and experiments, follow me on Instagram: @rubysgfkitchen.
Happy Baking,
Ruby x


